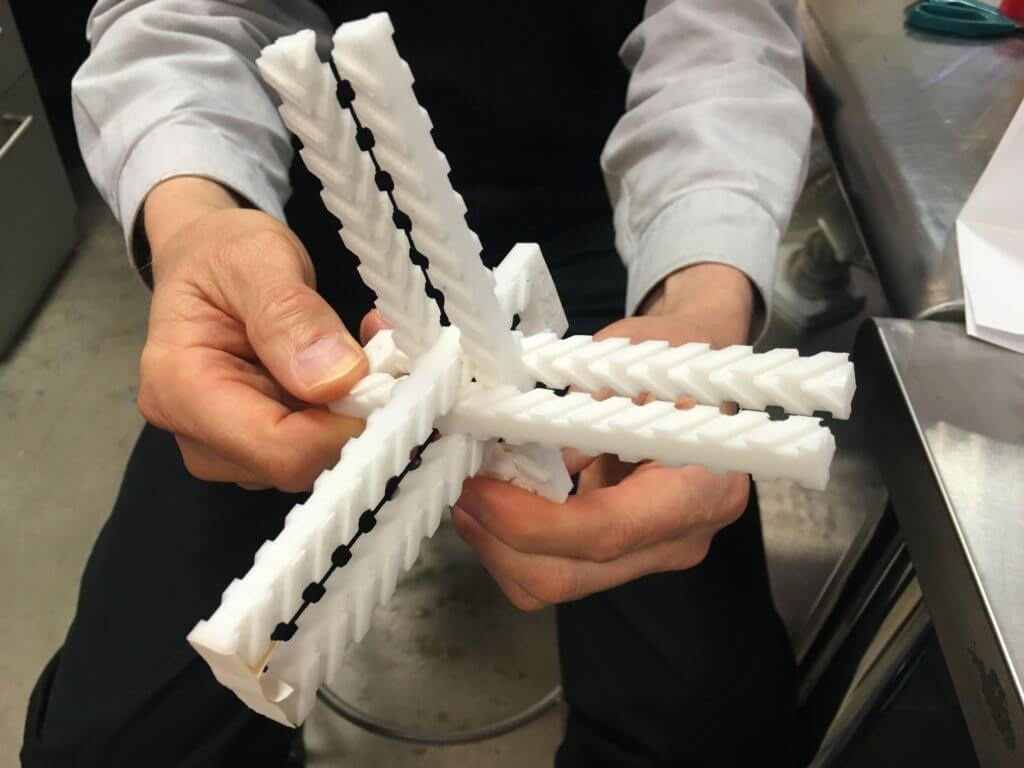
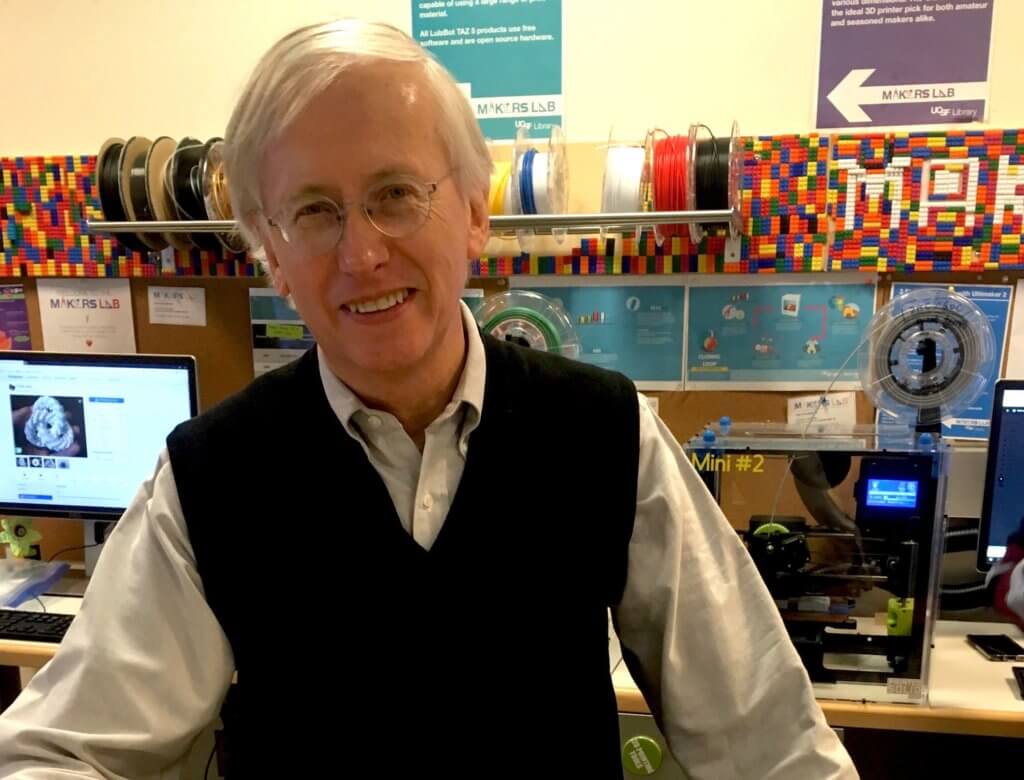
This week’s maker is Rick “Channing” Rodgers, clinical professor of laboratory medicine in the UCSF School of Medicine. We caught up with Rick during one of his 3D printing reservations to take a closer look at some of the mathematical art prints he’s been making.
Q: What did you make?
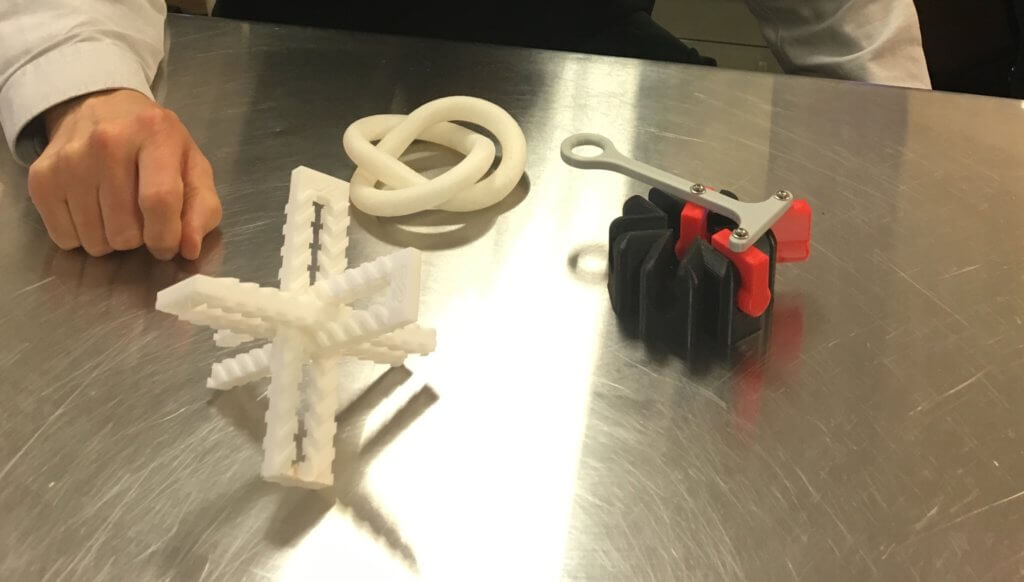
I made three initial experimental prints: Borromean hairpins, a trefoil knot designed by a friend and colleague, and a three-way Trammel of Archimedes.
Q: Why did you want to make it?
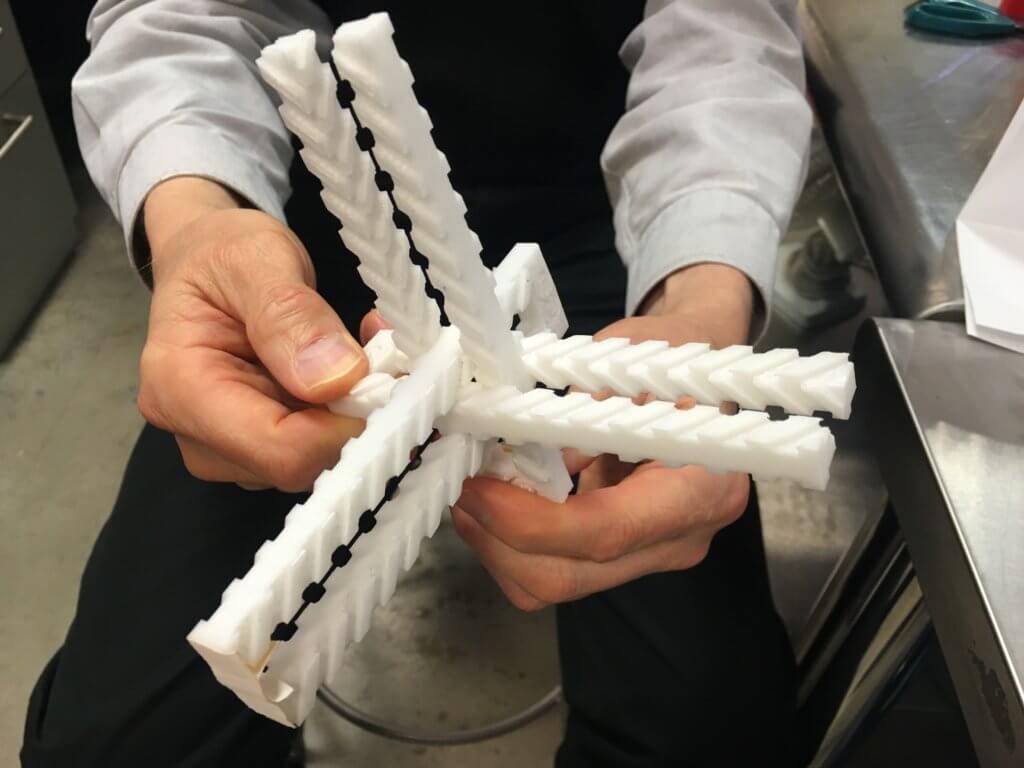
I’ve wanted to be more actively involved with 3D printing for a long time, and what better way than to start with a classic project like the Archimedes’ Trammel? I work in biomedical IT, and traditionally one of the first exercises you undertake when learning a new programming language is to write a small program that prints “Hello, World!”. Because one of the first 3D prints I held in my hand (in about 2005, when I was working for the NIH) was a two-way Archimedes’ Trammel, I think of it as a kind of “Hello, World!” exercise for 3D printing, and I tried to take it a step further by printing a three-way trammel! Printing this was a valuable exercise that helped me better understand the strengths and weaknesses of current 3D printing technology. The fact that you can have an intriguing object at the end of it all is a plus. The print has moving parts, and this mechanical action demonstrates that there’s more to 3D printing than static objects. It’s fun exploring the degrees of complexity you can achieve.
Q: What was your process?
I studied 3D printing by reading about the technical standards and software tools involved, and looking online at projects people have done. Then I did a lot of thinking and meditating. As someone who’s just starting out, I picked three 3D models created by others. I intentionally selected problems that I knew would push the limits of this technology. Such exploration would not have been possible without access to the collection of multiple devices that the UCSF Makers Lab has assembled, and the kind and patient guidance of Jenny and Dylan.
Q: What was the hardest part of the process?
Surprisingly, it was the post-processing work that needed to be done to clean up the supports on the 3D print. Depending on what you are doing, it might require fiddly manual labor; for the Borromean hairpins it took about 45 mins to process one pin, which dropped to 20 mins for the third and final one after my practice with the first two. I had to be precise and a cautious with a scalpel.
Q: What was your favorite part of the process?
I think I enjoyed exploring the limits of this technology. The trefoil knot print took several attempts to get it right. It exposed me to the Dualextruder and showed me the power of using dissolvable supports to simplify the post-processing.
Q: How did this help make you a better faculty?
I’m teaching IT/Information Science and how it relates to Lab Medicine. I try to track emerging technologies to help residents and colleagues better appreciate the impact they may have on Clinical Pathology and other medical disciplines. 3D printing these projects has certainly deepened my own understanding of this important young technology, and the people I am teaching will benefit. I can think of several actual applications for this technology in Lab Medicine.
Q: What do you want to make next?
In the background of my photo, you will see on the screen a very complicated “triple gear”—it’s a complex form containing three interlocked circular gears that are printed as a single object, but must be free to rotate together. the gaps between the gear teeth are very tight. This print will need the Dualextruder, and it will be a good way to end my initial learning.
